Connecting Listadum to Claude
Last updated onLast updated: September 15th, 2026
Please note: the process to connect Listadum MCP to AI services like Claude or ChatGPT is constantly changing, please let us know if these documented steps don't seem to reflect what you see in your app, we will update this documentation.
Step 1: adding a custom connector
In Claude.ai or Claude Desktop:
click on Customize
select the "Connectors" tabs and click on the "Add" button
When prompted, enter the name of the connected (eg: Listadum) and the HTTPS address of the server: https://mcp.listadum.com.
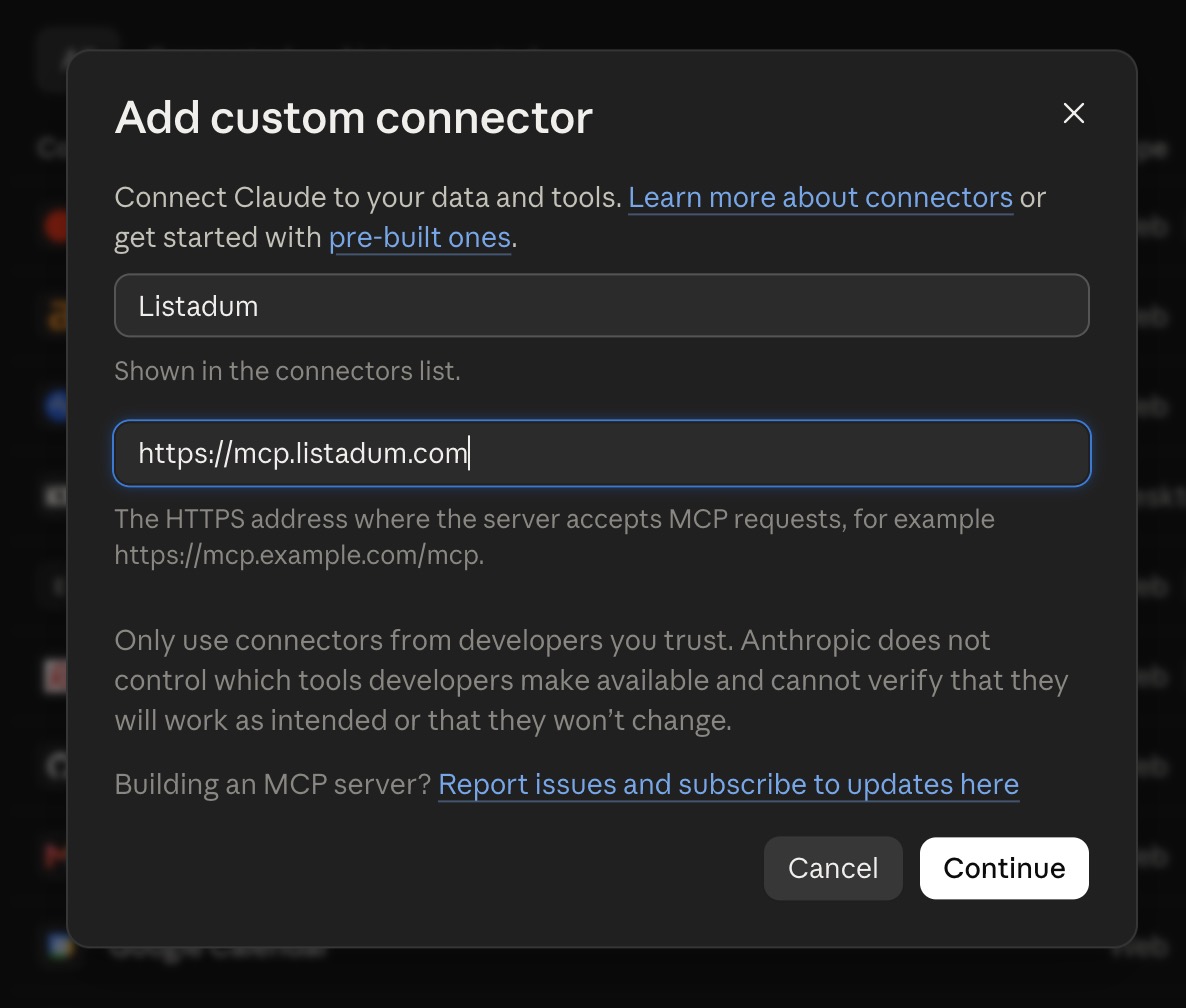
Then click "Continue".
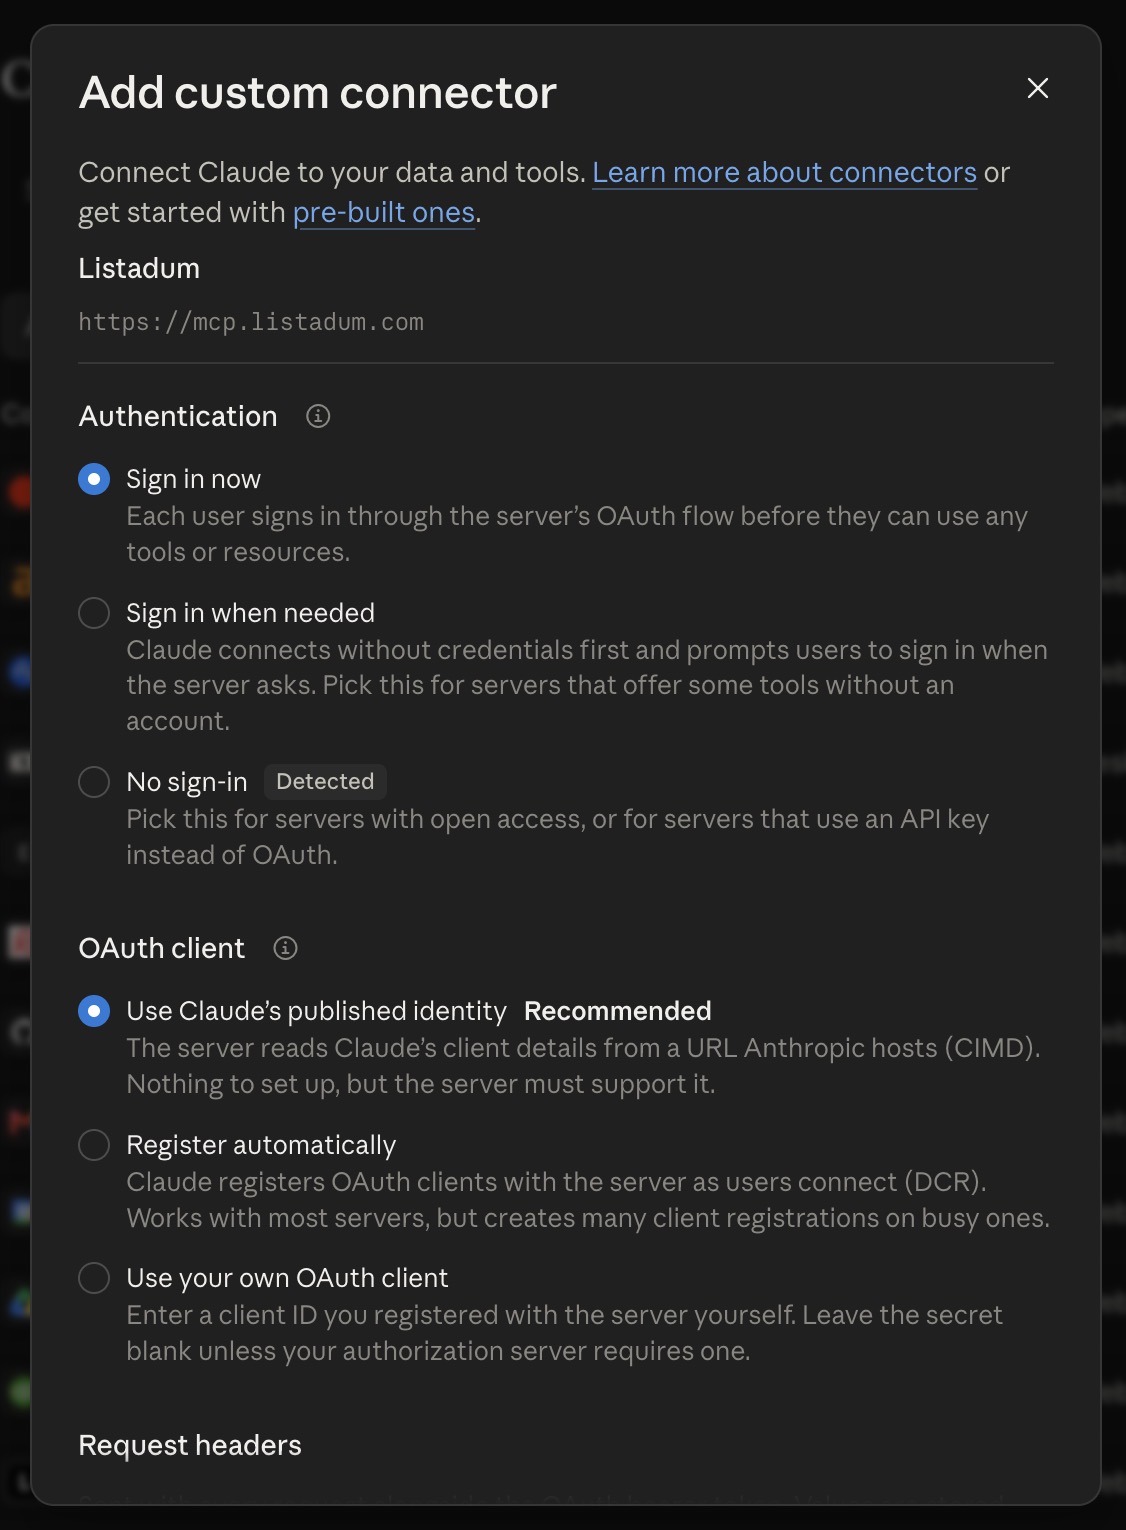
Make sure to select "Sign in now" in the "Authentication" section, Listadum MCP will not be able to see your store if you select "No sign-in".
Step 2: Connect your Listadum account
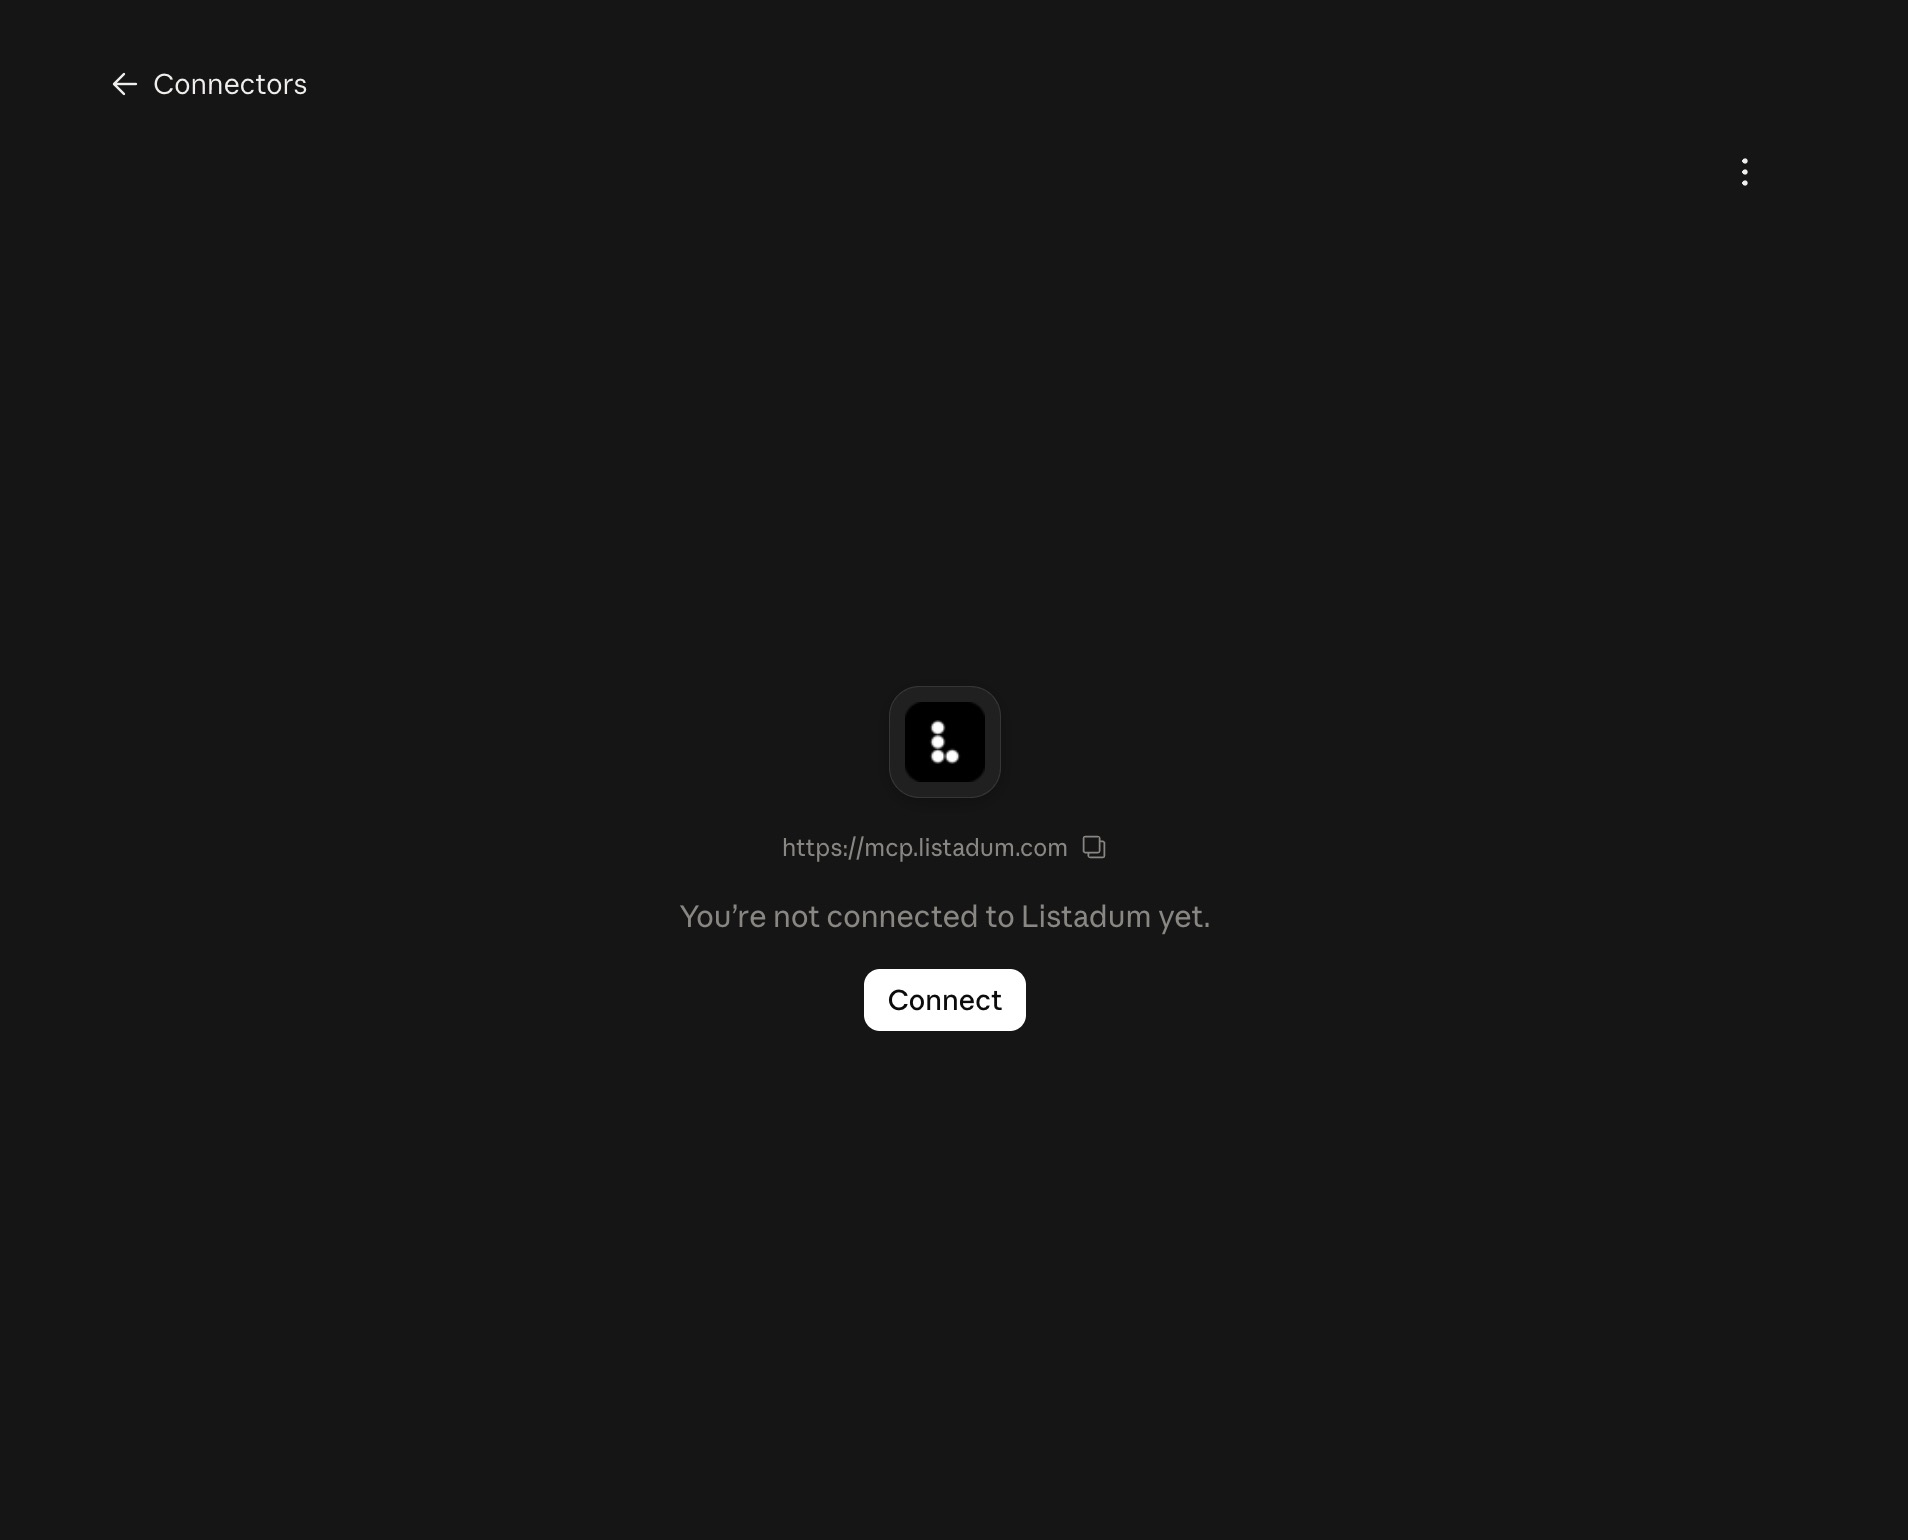
Once the custom connector is added, you will have to connect to your Listadum account, click on "Connect":
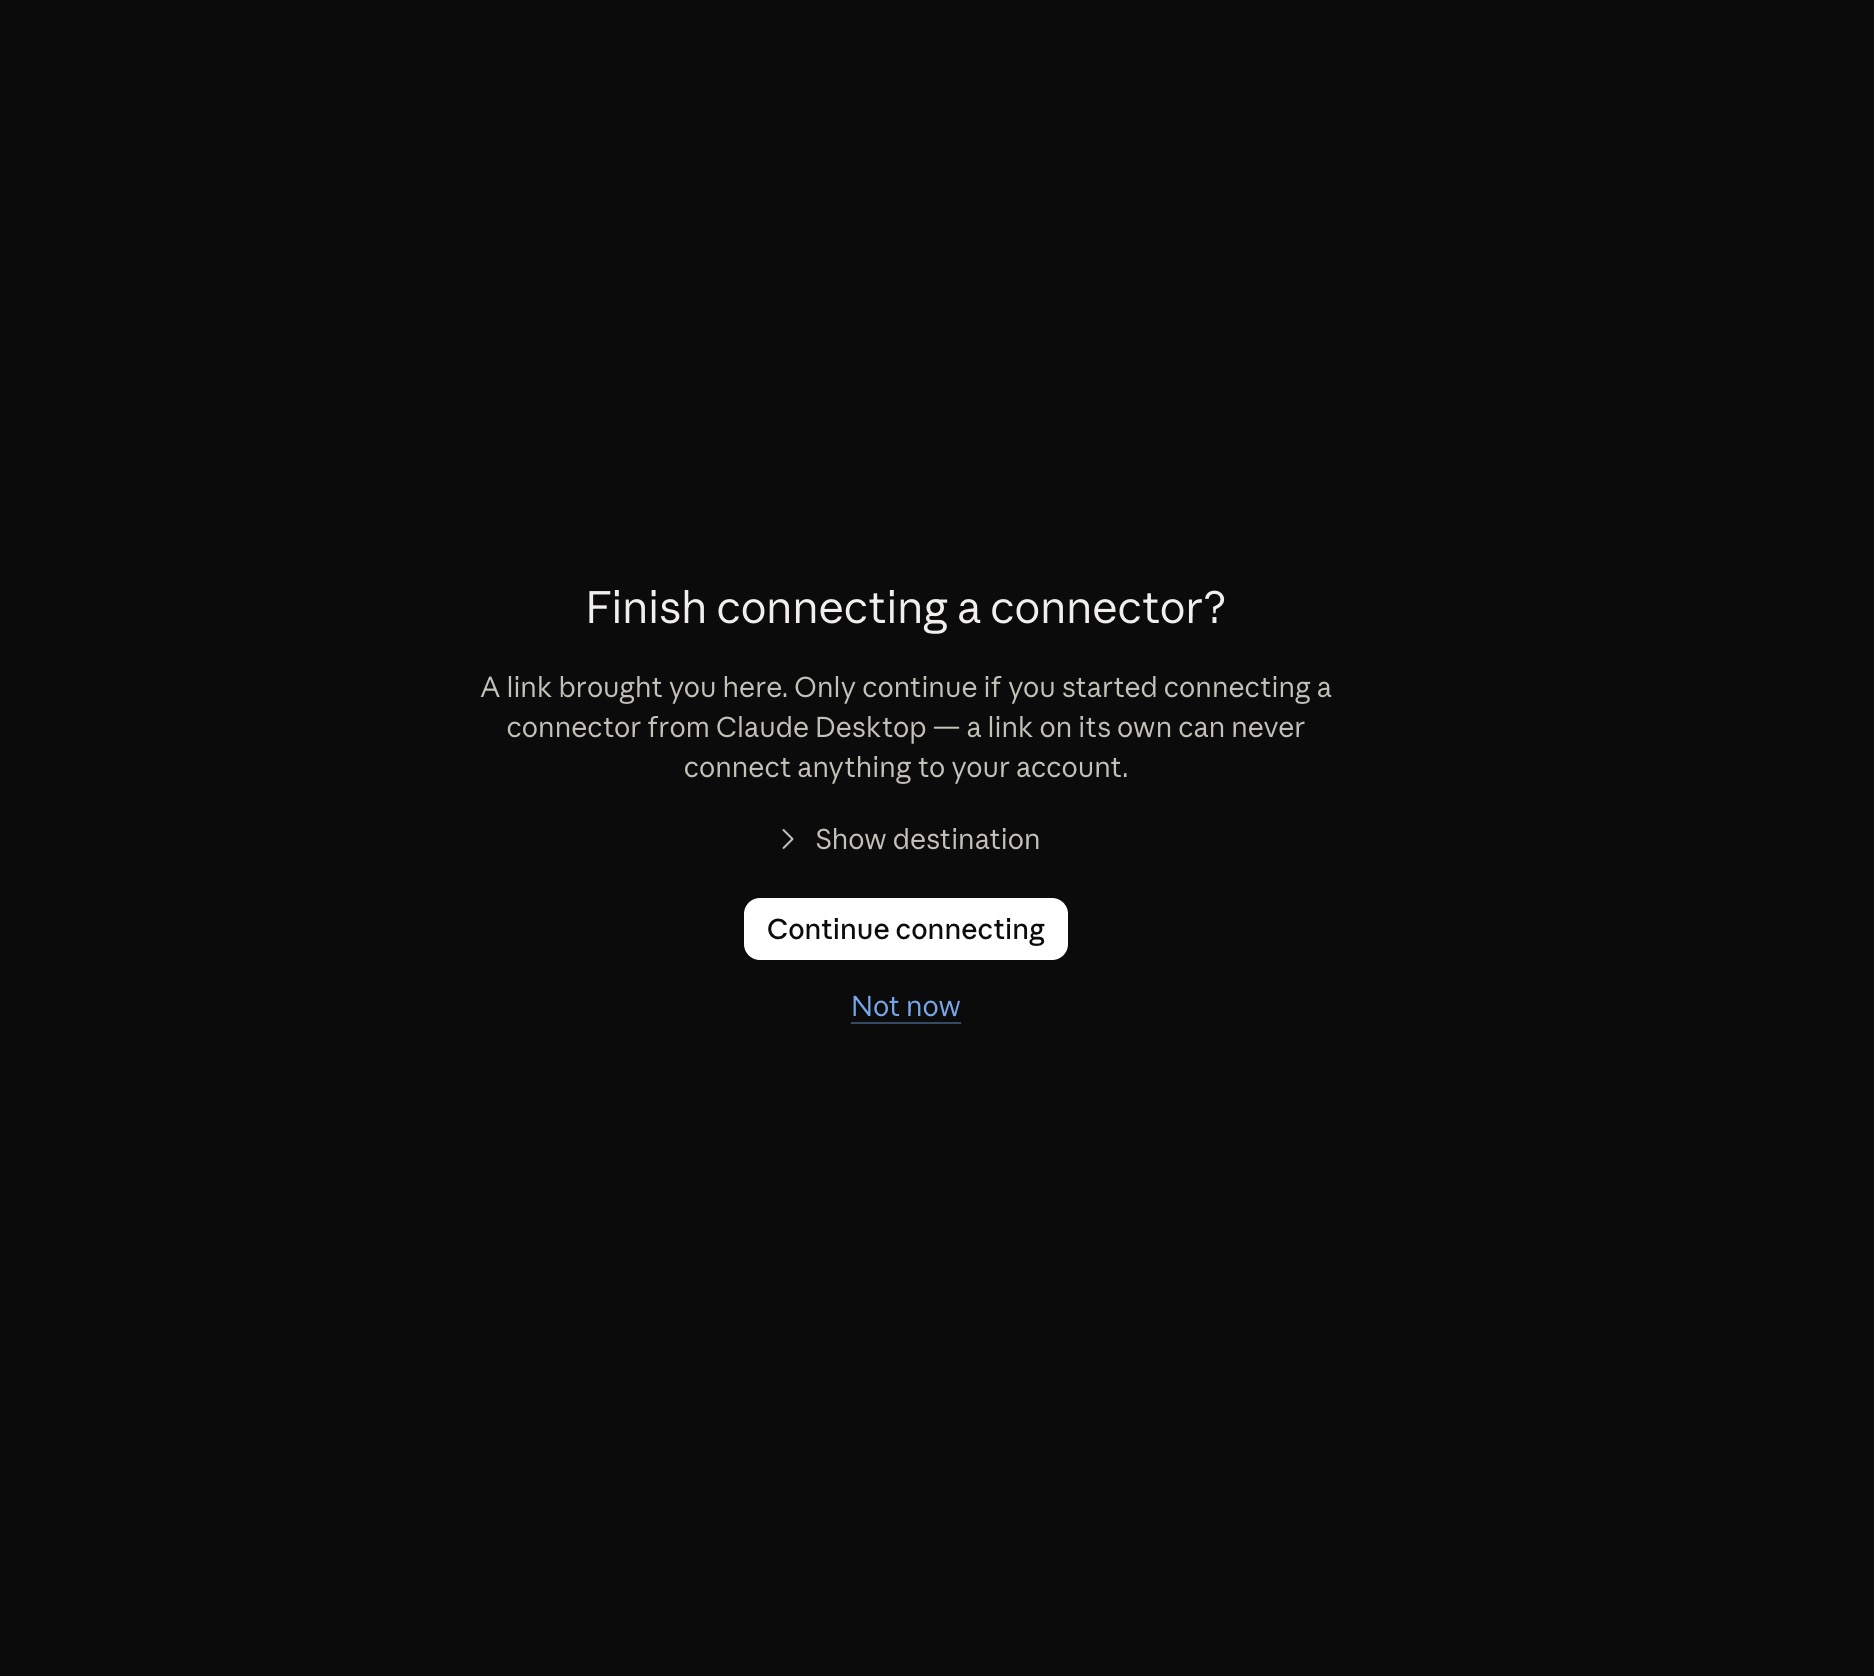
Then "Continue connecting" if you see this screen:
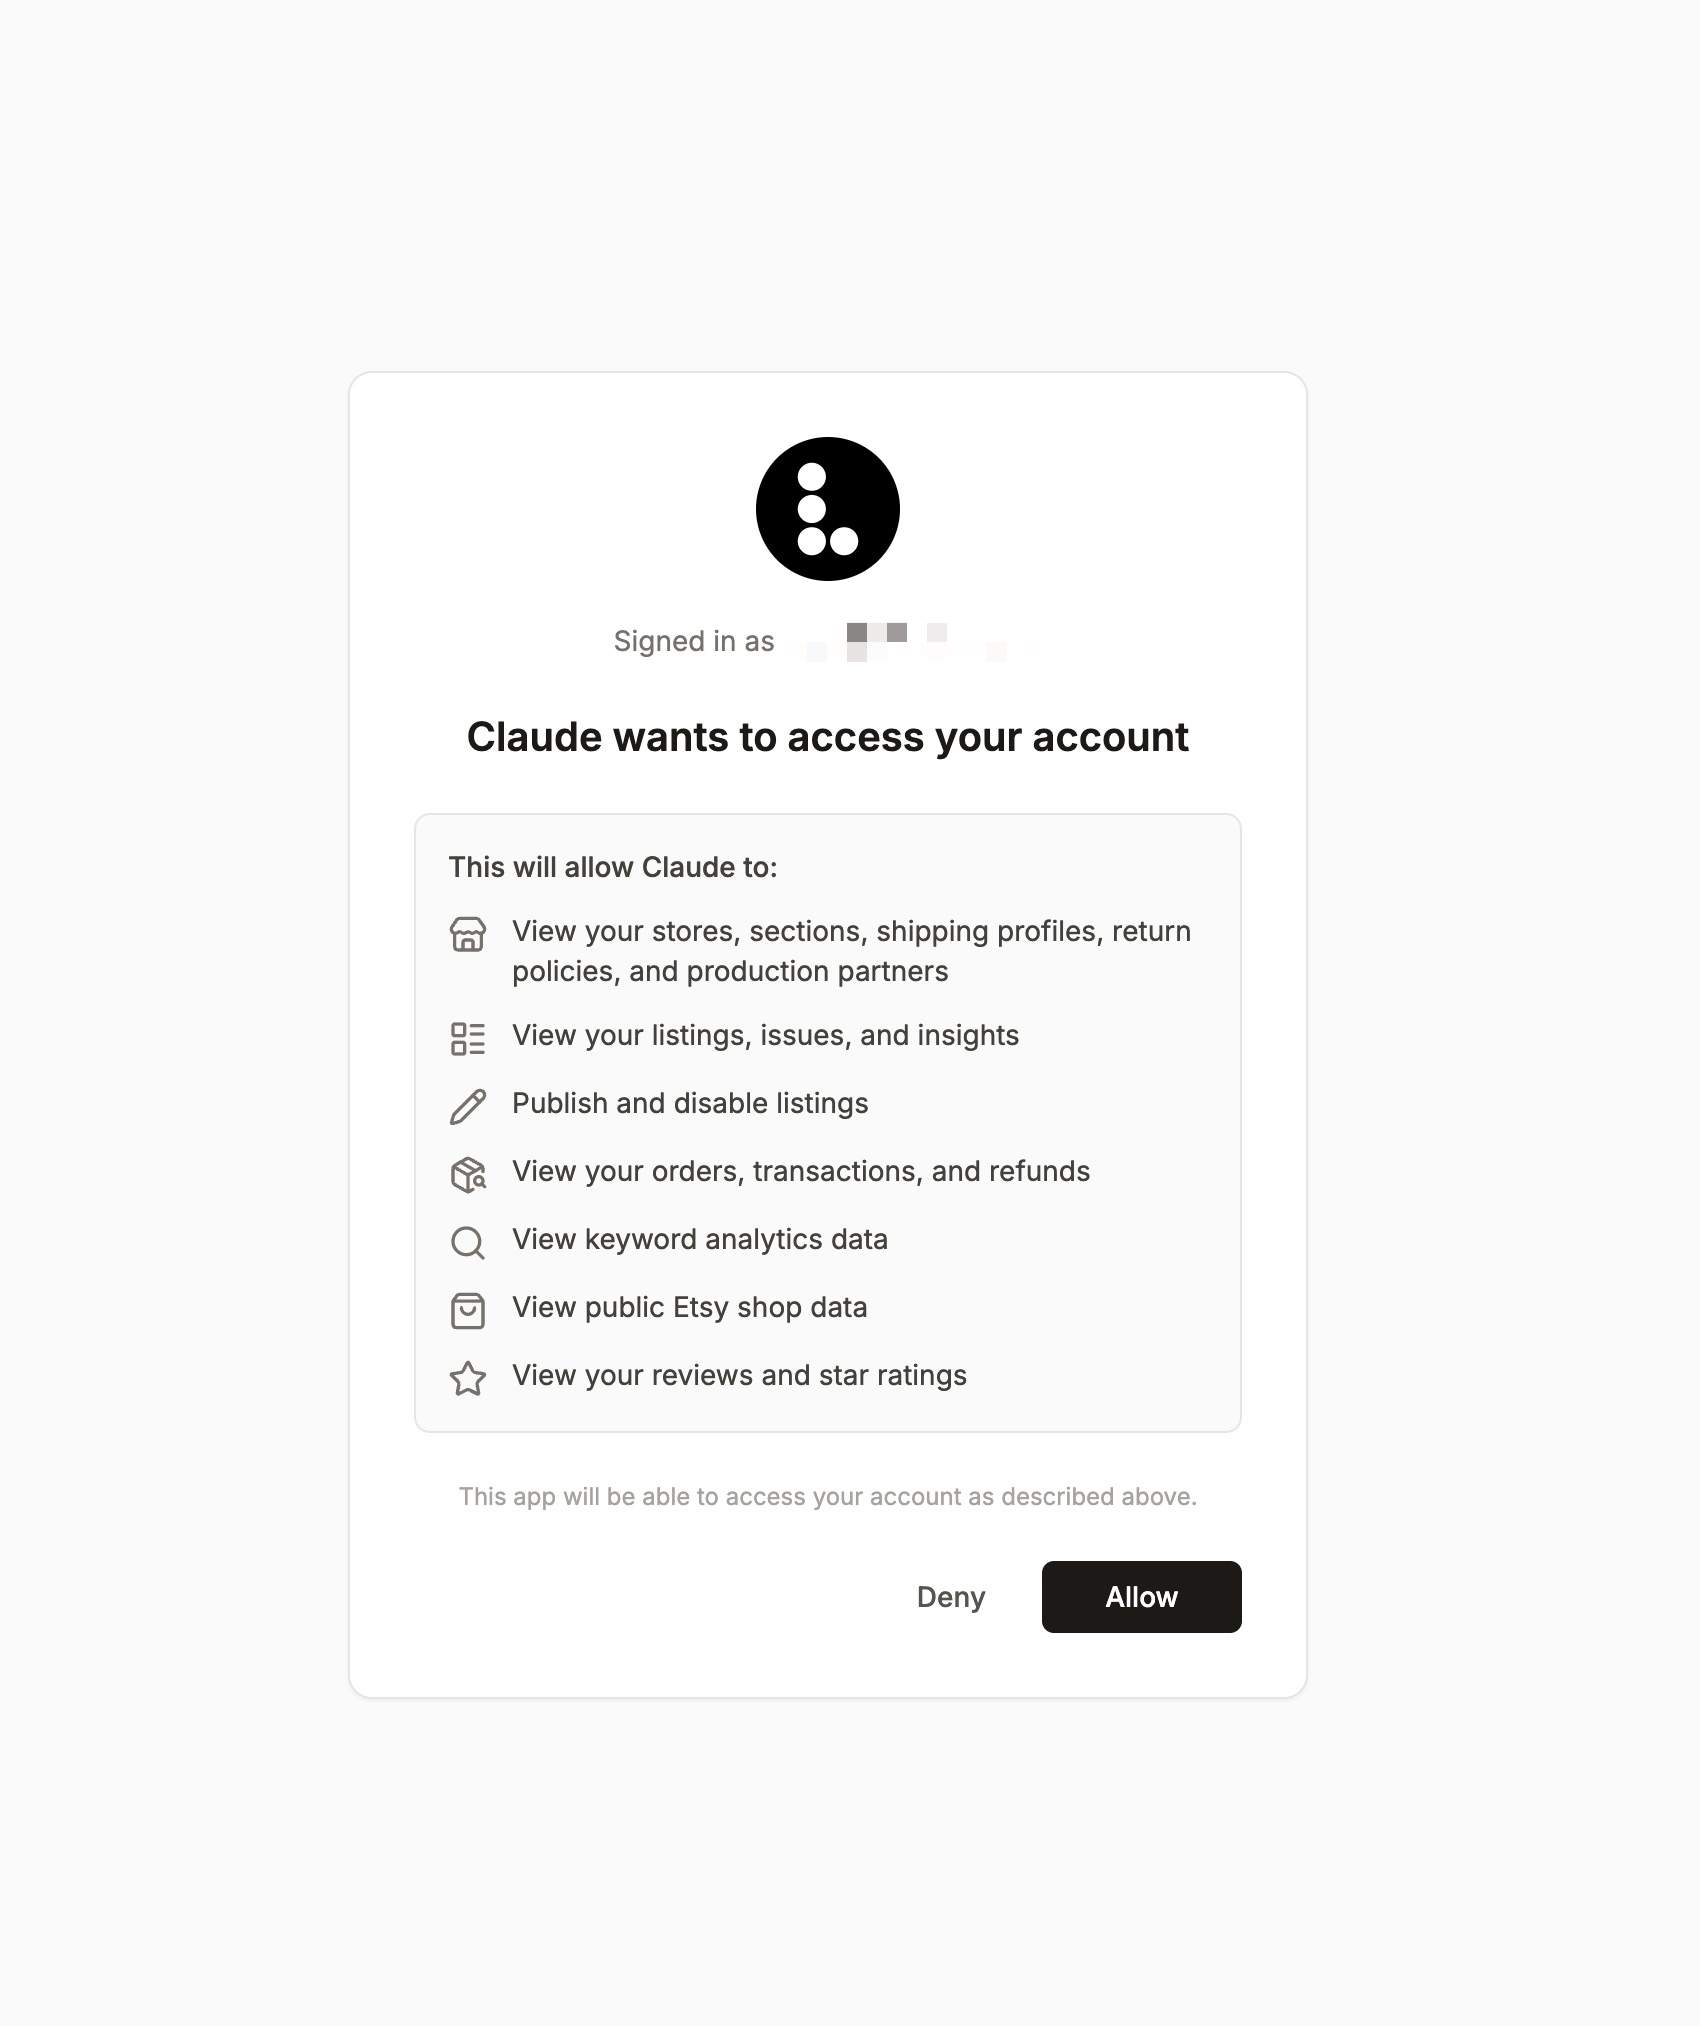
You are now redirected to Listadum, you must connect to your Listadum account if you aren't already, and click "Allow":
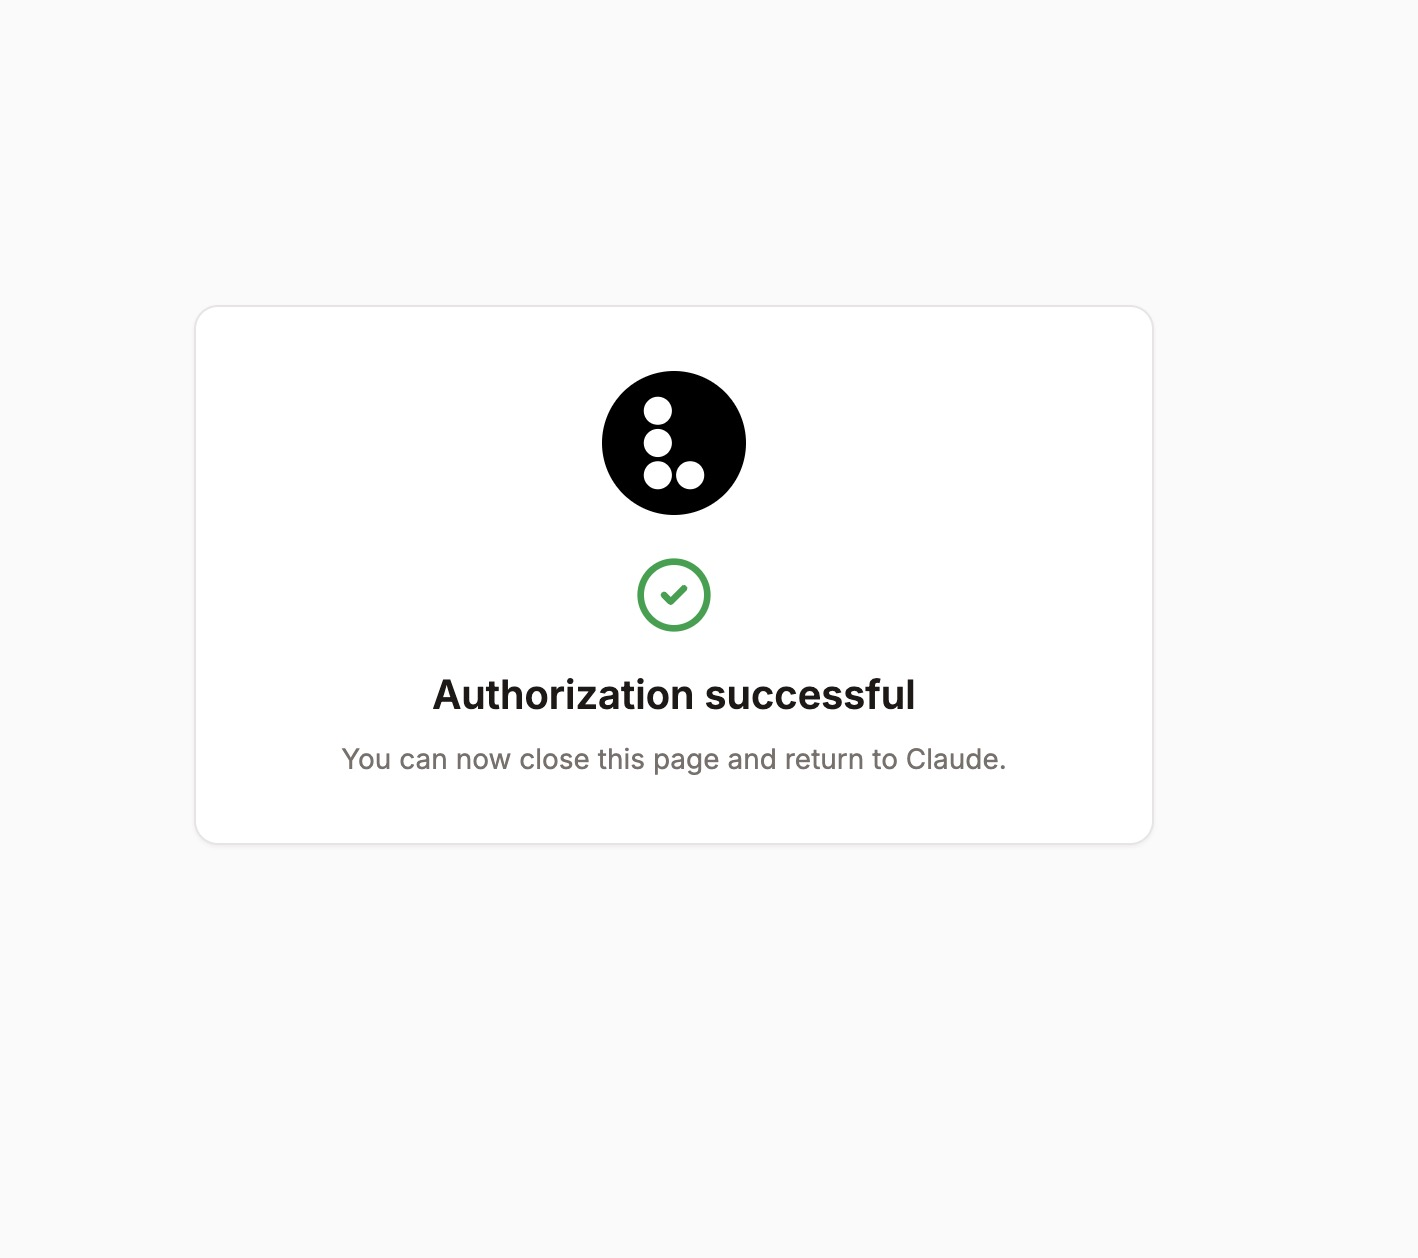
After granting permission and your authorization is successful, you will be redirected to the Claude app you initiated the connection from:
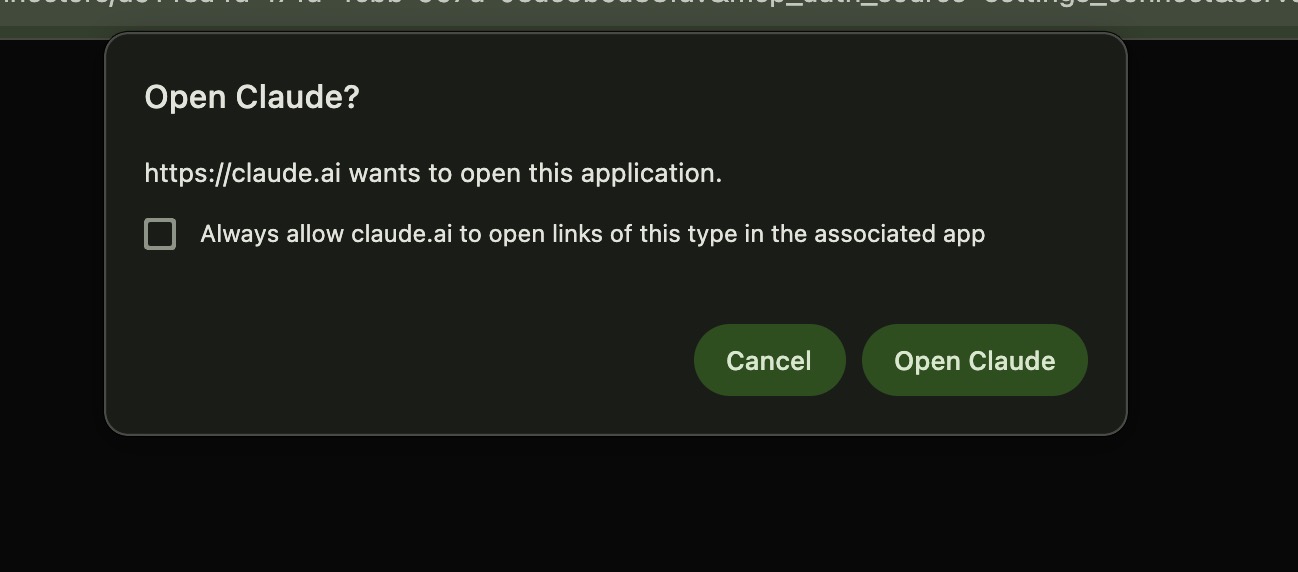
From that point on, you are connected and Claude should be able to see your connected stores.
Only store with an active "API Access Add-on" can be interacted with via the MCP integration.
Reconnecting the Listadum MCP
In Claude > Customize > Connectors > Yours, locate the Listadum connector and enter the row.
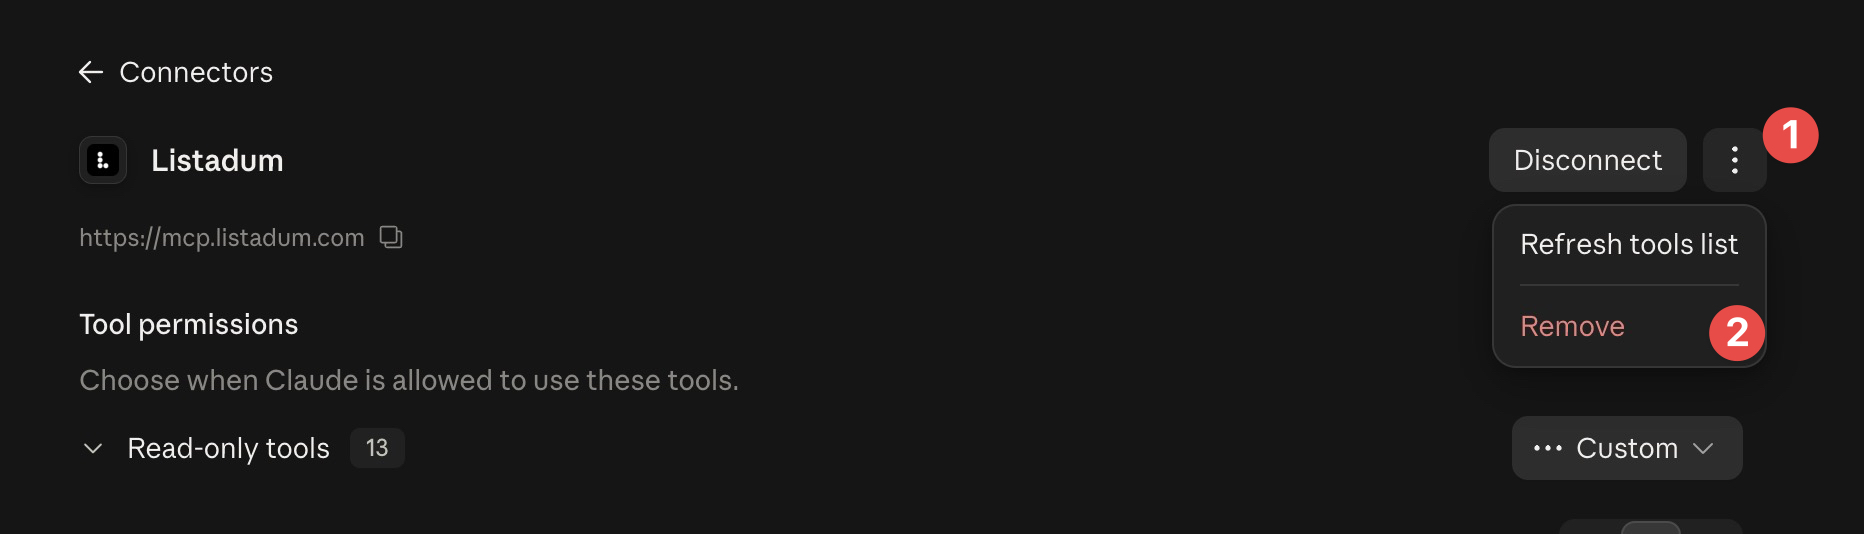
Click "Disconnect", Claude now shows the "Connect" button (step 2 of this documentation).

If you'd like to restart from scratch, you can instead completely Remove the custom connector by clicking the ... button, then "Remove". You will be back at step 1 of this documentaiton.